


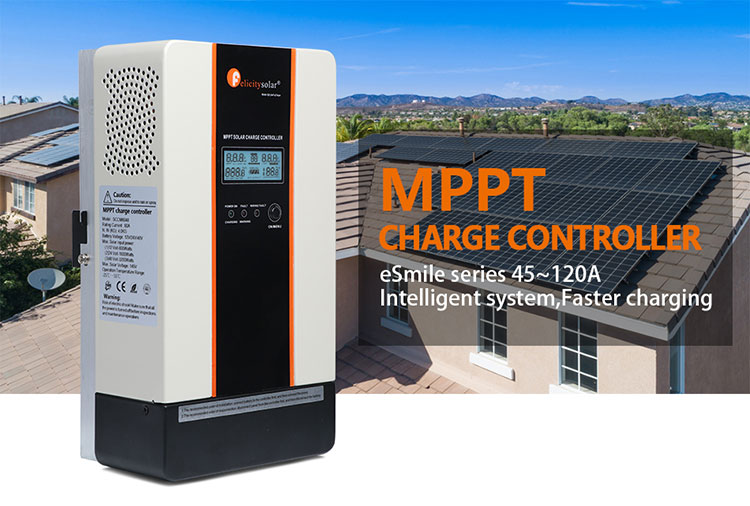
• Intelligent Maximum Power Point Tracking technology increases efficiency 25%~30%• Automatic battery voltage detection(12V/24V/48V)
• Three-stage charging optimizes battery performance
• Maximum charging current up to 45A/60A/80A/100A/120A
• Maximum efficiency up to 98%• Battery temperature sensor (BTS) automatically provides temperature compensation
• Integrated intelligent slot compatible with SNMP/MODBUS communication
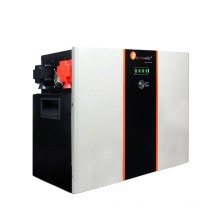
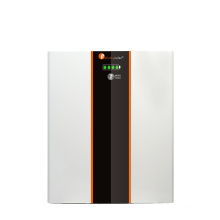
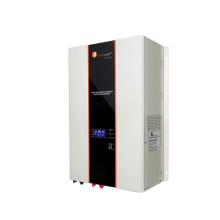
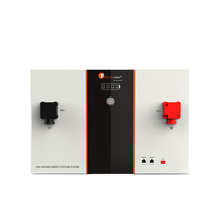
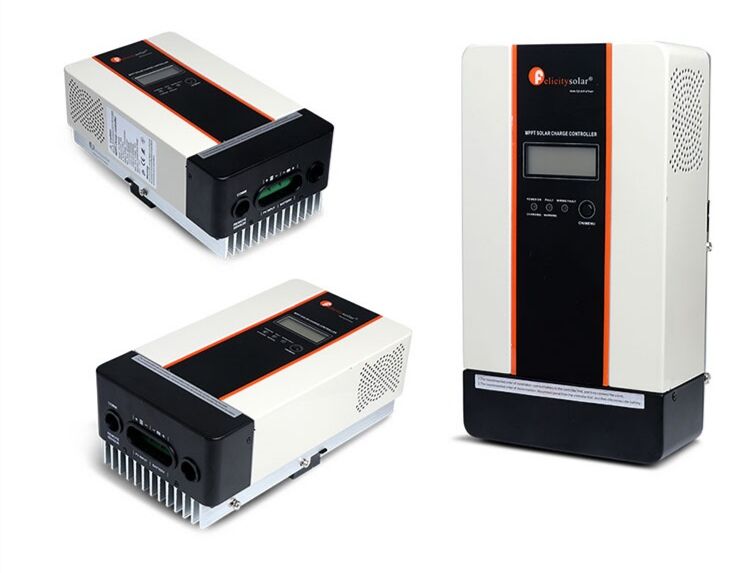
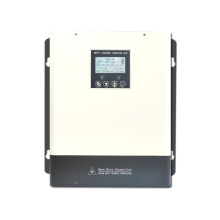
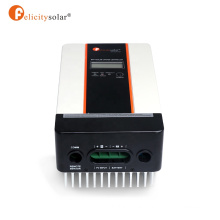
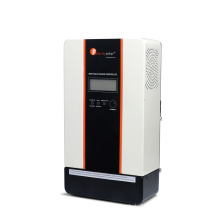
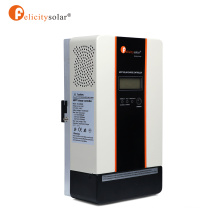
12V/24V/48V 120A Solar Charger Controller MPPT with USB and LCD Screen
Product Description
Product Introduction
Advantages
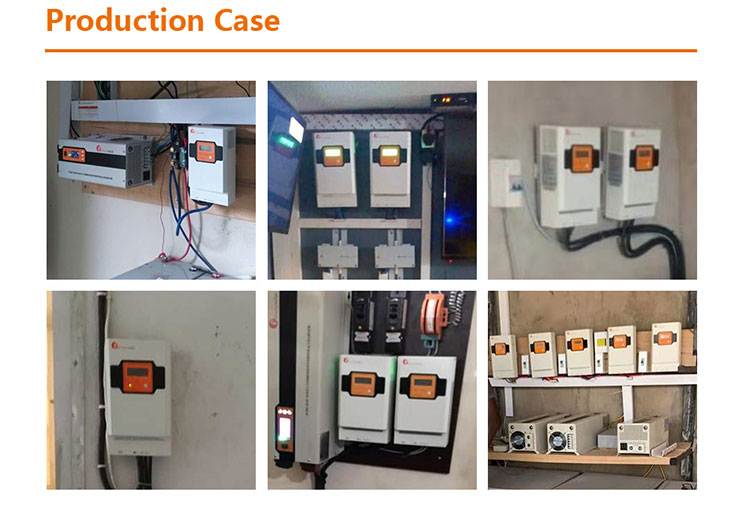
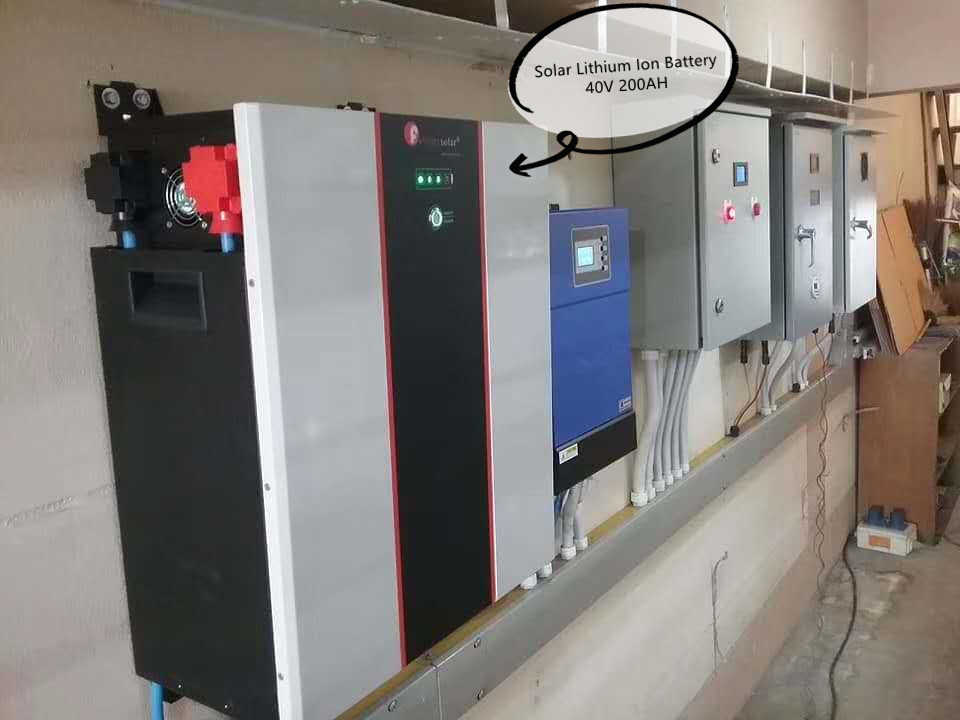
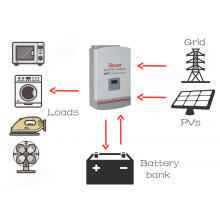
Details Image
Product Paramenters
Model | FL-SCCM4524 | FL-SCCM6048 | FL-SCCM8048 | FL-SCCM10048 | FL-SCCM12048 | |||||
Max PV Input Vol | 145V | 195V | ||||||||
System Vol | 12V/24V/48/(Auto dection) | |||||||||
Max battery Charge Current | 45A | 60A | 80A | 100A | 120A | |||||
PV Array MPPT Vol Range | 15V-130VDC/ 30-130VDC/ 60-130V | 15V-170V/ 30-170V/ 60-170V | ||||||||
Max PV Input Power(12V) | 625W | 825W | 1100W | 1375W | 1650W | |||||
Max PV Input Power(24V) | 1250W | 1650W | 2200W | 2750W | 3300W | |||||
Max PV Input Power(48V) | 2500W | 3300W | 4400W | 5500W | 6600W | |||||
Charge information | ||||||||||
Charging Curve | See image below this sheet | |||||||||
Charge Algorithm | 3-Step | |||||||||
Charging Stages | Bulk,Absorpotion,FloatBulk,Absorption,Float | |||||||||
Temperature Compensation Coefficient | -5mV/℃/Cell/(25℃ref) | |||||||||
Temperature Compensation Range | 0℃ to 50℃ | |||||||||
Temperature Compensation Set Points | Absoption, Float Absoption, Float | |||||||||
Charging Set Points | Absoption Stage, Float Stage | |||||||||
Flooded Battery | 14.6V/29.2V/58.4V | |||||||||
ARG/Gel Battery(Default) | 14.1V/28.2V/56.4V | |||||||||
Overcharge voltage | 15V/30V/60V | |||||||||
Overcharge restart voltage | 14.5V/29V/58V | |||||||||
Battery discharge voltage | 8.5V/17V/34V | |||||||||
Battery overdischarge voltage | 9V/18V/36V | |||||||||
Mechanical & Environment | ||||||||||
Size(H*W*D) | 283*160*105mm | 283*160*105 | 333*215*120mm | |||||||
Weight | 4.0KG | 5.1KG | 7.0KG | |||||||
Ambient Temperature Range | 0℃ to 50℃ | |||||||||
Storage Temperature Range | -40℃ to 75℃ | |||||||||
Humidity | 0%-90%RH(No condensing) | |||||||||
Enclosure | IP31(indoor&vented) | |||||||||

Installing the Charge controller
Step 1: Choose Mounting Location Install the Charge Controller in an upright position out of direct sunlight, high temperature , and water.
Step 1: Choose Mounting Location Install the Charge Controller in an upright position out of direct sunlight, high temperature , and water.
Step 2: Check for Clearance Place the mppt controller in the location where it will be mounted. Verify that there is sufficient room to run wires and that there is sufficient room above and below the controller for air flow.
Step 3: Mark Holes Use a pencil or pen to mark the four mounting hole locations on the wall (mounting surface)
Step 4: Drill Holes Remove the ChargeController and drill four size able holes in the marked location.
Step 5: Secure Controller Insert all W 5/ 16-18 sheet metal screw through each hole and tighten against the wall.

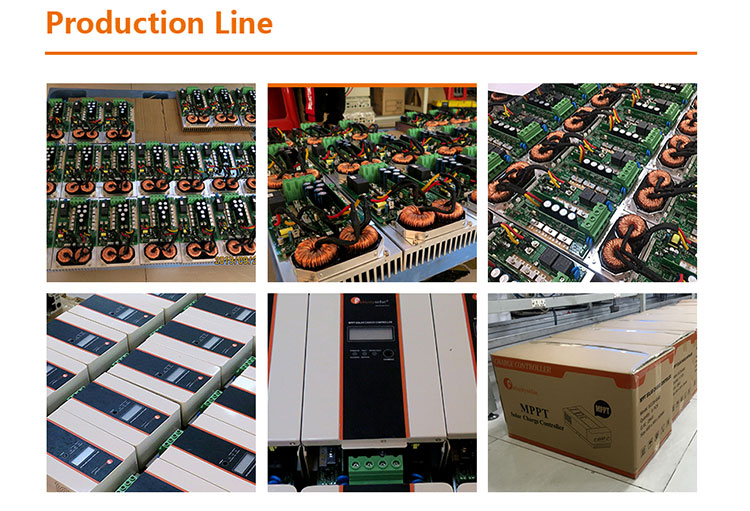


Company Profile:
Guangzhou Felicity Solar Technology Co., Ltd (hereinafter referred to as Felicitysolar) is a company dedicated to developing photovoltaic high-tech products. Felicitysolar was founded in 2007, and its headquarters is located in Guangzhou, one of the important export cities in China. Felicitysolar is a high-tech enterprise integrating R & D, production, sales, engineering design, installation and after-sales service. In the past 11 years, Felicitysolar uses advanced production equipment and production technology at home and abroad, concentrate on research, constant innovation, has formed its own unique characteristics of the technical advantages, product advantages and market advantages. At present, our products have been exported to more than 100 countries and regions around the world, such as: African countries, Southeast Asia, the Middle East, and North America and South america, and has established a number of offices and subsidiaries at home and abroad. Felicitysolar will continue to focus on the popularity of solar energy storage system look into the future, adhering to the values of hard-working, innovation, focus and integrity, provide clean energy to the areas with insufficient power, and bright their life..
Product Categories : Solar Charge Controller > MPPT Solar controller
Premium Related Products

Other Products

Hot Products
40W LED Street Light 9mr-Ld-2mz Supplier150W LED Factory Highbay LightE27 LED Bulb Light 7 WattHigh Power 12W Outdoor LED Spotlight IP65 WaterproofNew Design Solar LED Street Light 12W70W LED Street Light IP65 CE RoHS Certification9W led downlight China priceHot Sale 6W Round COB LED Downlightwhite shell mini 1w dimmable led downlightNew arrival Manufacturer supplier aluminum round dimmable 120degree good quality 240v 2835 smd square panel led downlight2ft,4ft,18w T8 220v smd led tube light from China factory360 degree 8w led bulbUltra Slim Led Downlightsurface dimmable high quality led ceiling lightround led flat panel ceiling light, daylight led ceiling light 12wCOB LED downlight 20W 6inch